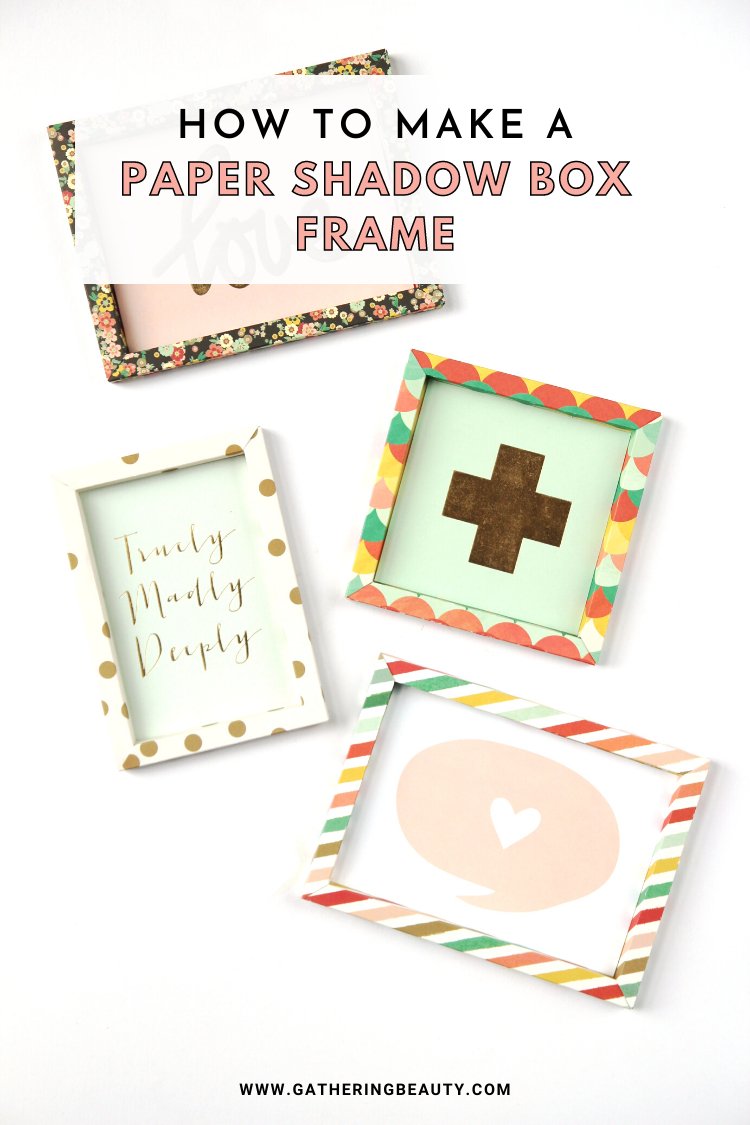
DIY Paper Shadow Box
/Looking for a cool way to display your photos? Try these DIY paper shadow box frames. Framing all your photos or artwork can really start to add up so these paper frames are a fantastically inexpensive way to display them without breaking the bank.
And if that wasn't enough, there's also the added bonus of being able to customise them to match any theme or size art print. What are you waiting for? Let’s get folding.

This post contains some affiliate links for your convenience (which means if you make a purchase after clicking a link I will earn a small commission but it won’t cost you a penny extra)!
3D Paper Frame.
Ever wanted to make your own custom DIY paper frame? Then this is the tutorial for you. Learn how to score and fold your own cute paper frames without a template.
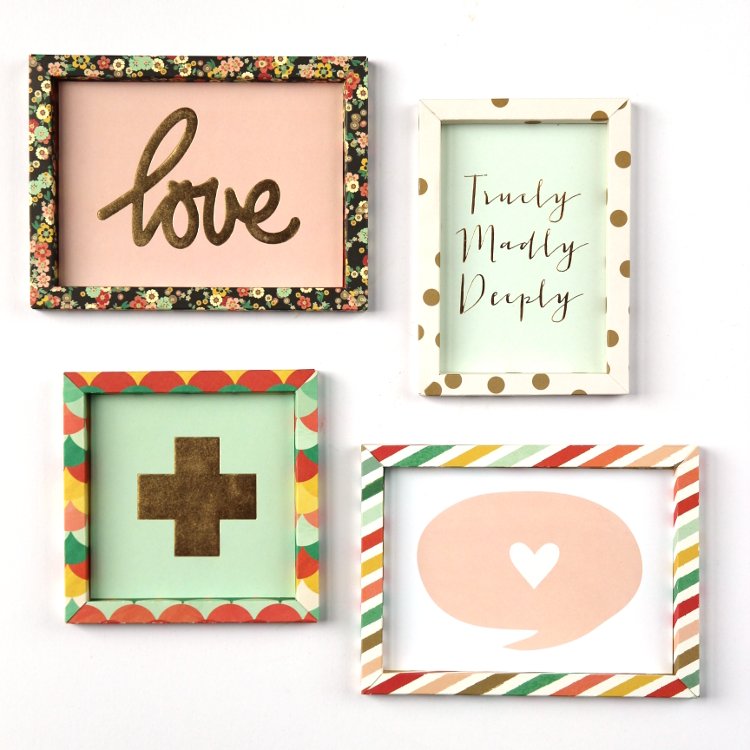
I recently bought one of these gallery art pads. It contains 26 different size art prints which is fantastic but the only problem is I didn't have 26 different size frames. So like any good crafter, I decided to have a go at making my own instead.
I picked a couple of my favourite prints and made 3 different size frames, a 5 x 7-inch frame, a 4 x 6-inch frame and a 5 x 5-inch frame. Don't worry, I've included all measurements and supplies below.
Sometimes it can be difficult to show you exactly how I made something with only photos so for this project we’ve got a video tutorial. Check it out below.

Measurements for 3D Paper Frame.
Frame for a 5x7 inch print (The 'Love' print frame).
Score at ½ inch (in), 1 in, 1½ in, 2 in, 8 in, 8½ in, 9 in, 9½ and 10 in.
Rotate 90 degrees and score at ½ inch, 1 in, 1½ in, 2 in, 10 in, 10½ in, 11 in, 11½ and 12 in.
Make extra 1 inch scorelines at 2½ inches and 7½ inches and repeat on the opposite side.
Frame for a 4 x 6 inch print (The 'Truly Madly Deeply print frame).
Score at ½ inch (in), 1 in, 1½ in, 2 in, 7 in 7½ in, 8 in, 8½ in and 9 in.
Rotate 90 degrees and score at ½ inch, 1 in, 1½ in, 2 in, 9 in, 9½, 10 in, 10½ in and 11 in.
Extra 1 inch scorelines at 2½ inches and 8½ inches and repeat on the opposite side.
Frame for a 5 x 5 inch print ( The '+' print frame).
Score at ½ inch (in), 1 in, 1½ in, 2 in, 8 in, 8½ in, 9 in, 9½ and 10 in.
Repeat 90 degrees and repeat the measurements above.
Extra 1 inch scorelines at 2½ inches and 7 ½ inches. Repeat on the opposite side.
Top tips:
I always recommend practising on some scrap paper first. These frames can be a bit tricky to begin with but once you've got the hang of it you should be able to make one in around 15-20 minutes.
When making your frame you need to allow a ½ border around all sides of your print. So for a 5 x 7 inch print you will need a piece of cardstock that measures 10 x 12 inches and for a 4 x 6 inch print you will need a 9 x 11 inch piece of cardstock.
The maximum frame size you can make with a 12 x 12 inch piece of cardstock is 7 x 7 inches with a depth of ½ an inch.
How To Make A Shadow Box From Cardstock.
Follow the step-by-step video tutorial below to see how to make your own shadow box picture frames.
What do you think? Will you be making your own shadow box frames?