Easy Origami Bowl
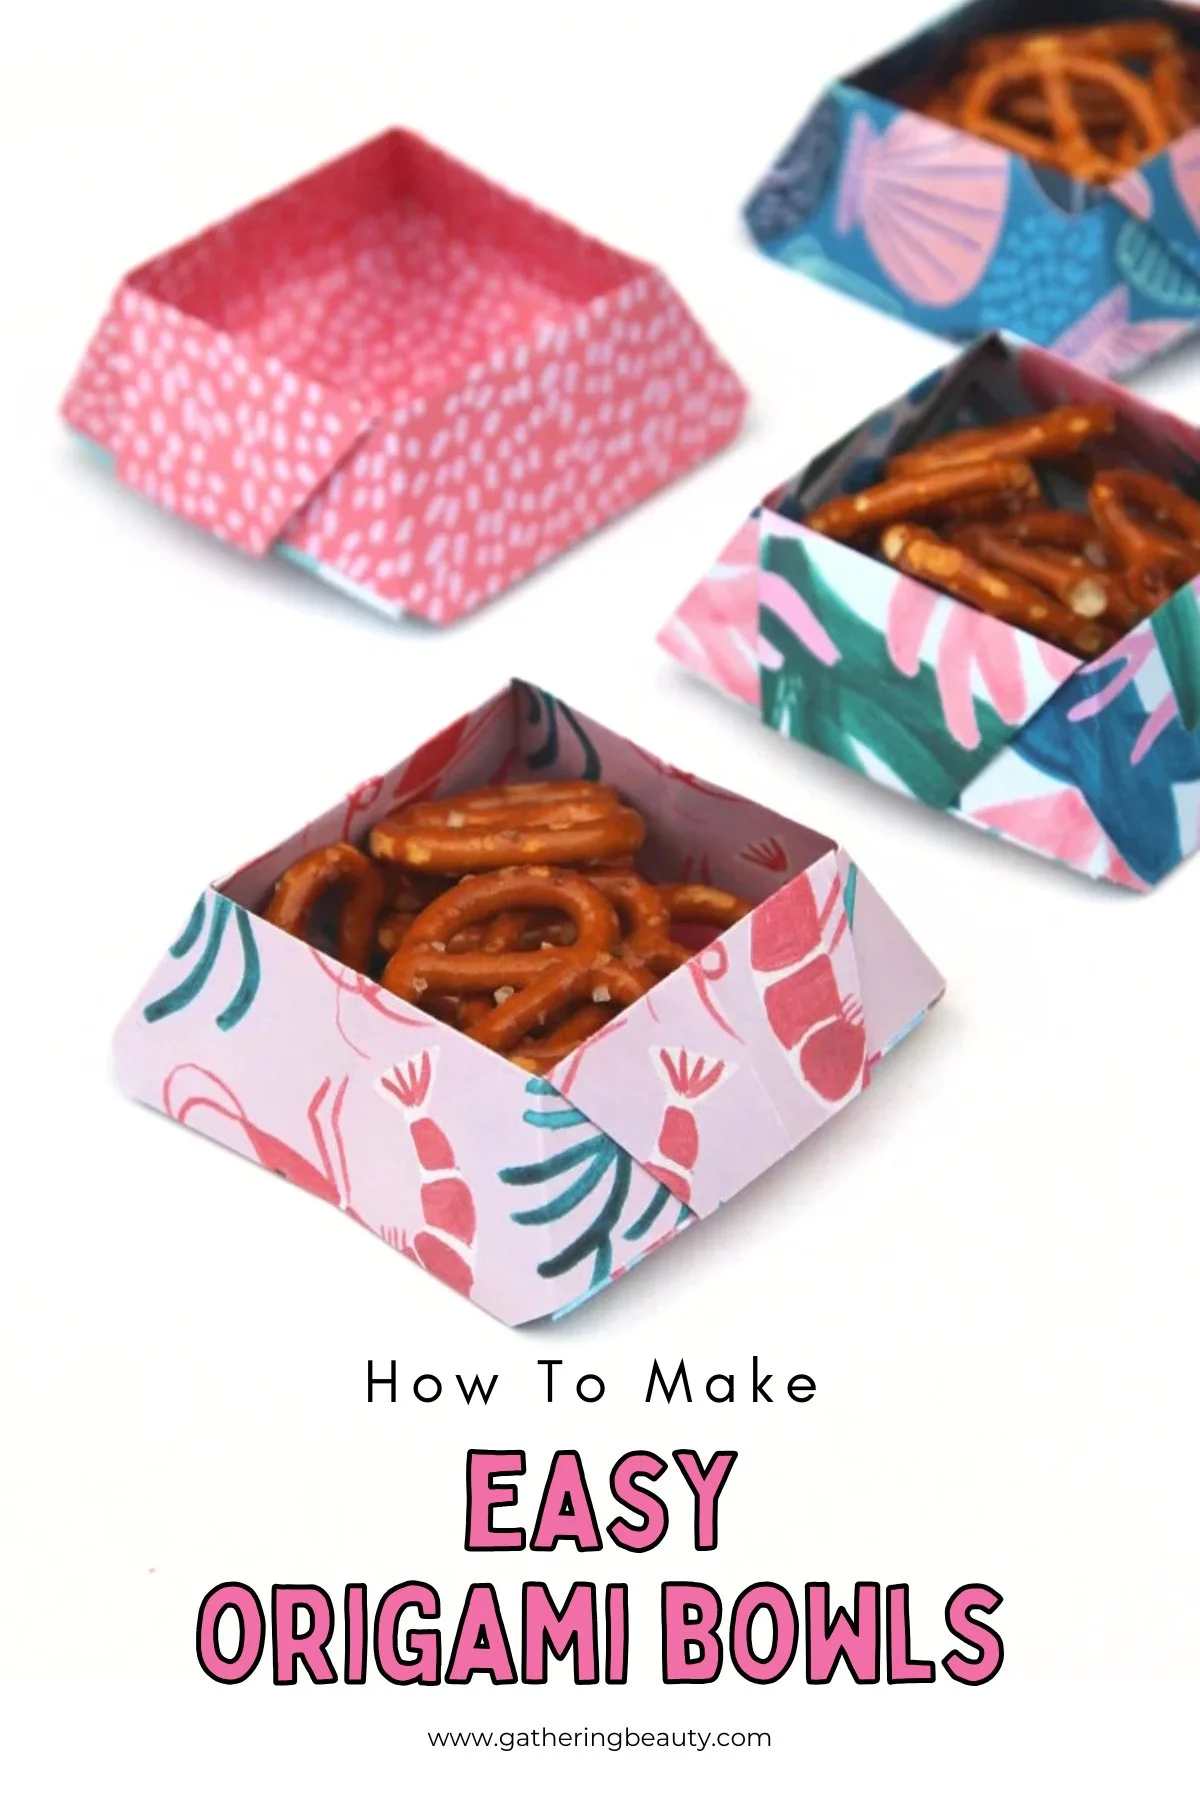
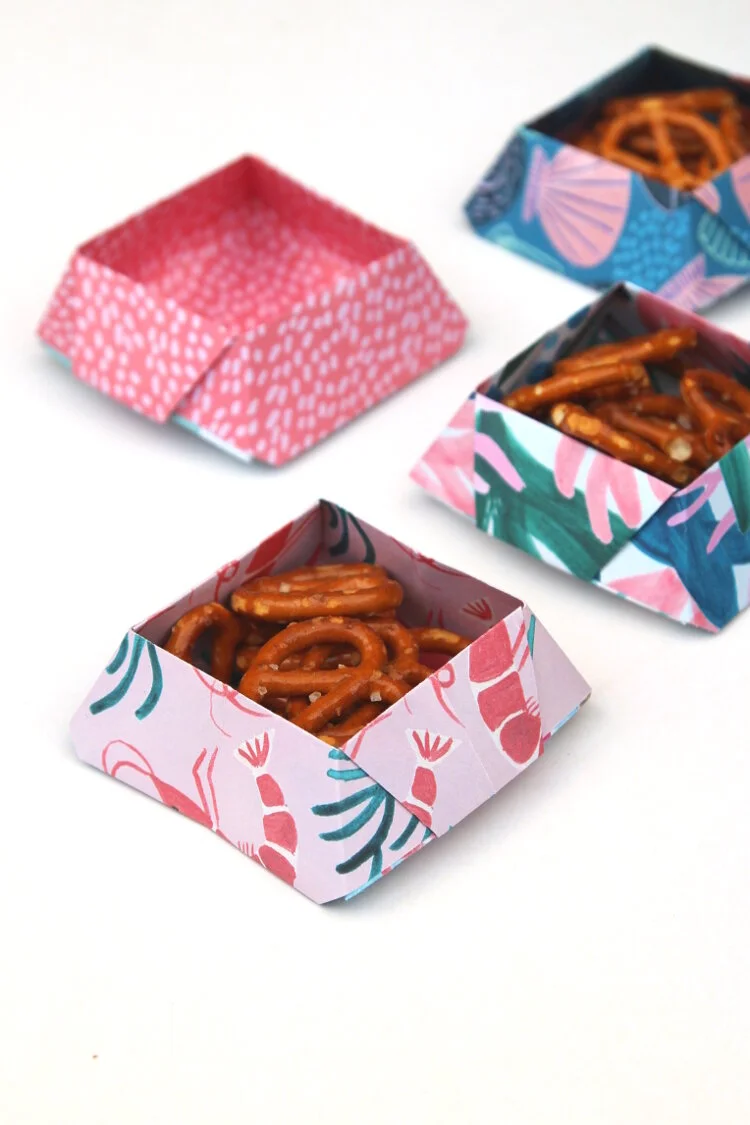
/Learn how to make a simple origami square bowl with these easy instructions. These paper bowls are perfect for serving snacks or storing stationery, jewellery or other knick-knacks.
This page contains affiliate links. This means that if you make a purchase after clicking a link I earn a small commission but it doesn’t cost you a penny extra!
Easy Origami Bowls.
And so my love for origami continues. Today I’m sharing a traditional origami bowl. It’s a quick way to make a useful dish for serving snacks or keeping things like jewellery safe.
If you’re throwing a party and need a cute last-minute bowl to serve nibbles, then these are the bowls for you. Match them to your theme or party decor by using pretty coordinated papers. I think they’d make a fantastic centrepiece at a party. Fill them with treats and set them out on the table.
Supplies:
Scissors or paper trimmer.
I made these bowls using 6 x 6-inch squares. You can make them any size depending on your paper.
Gift wrap is a good one if you want to make a big bowl to hold popcorn or crisps.
I always recommend using origami paper, although any thin paper will do. If you don’t have any origami paper on hand, here are a few alternatives that you probably already have at home.
Regular Printer Paper,
Gift Wrap,
Magazines,
Maps,
Old Books,
And Newspapers.
I even have some printable origami paper you can download and use for FREE. Simply download, print and cut into 7x7-inch squares.
How To Make An Origami Bowl.
The first step in making this bowl is to make a square base.
How To Make a Square Base.
1. Start by laying your paper flat with the coloured side facing up. If you’re using double-sided paper like I did, make sure the final pattern is facing up.
2. Fold in half from left to right.
3. Unfold and fold in half again, this time from top to bottom.
4. Open back out and flip over so the final pattern is facing down.
5. Fold it in half again, this time across both diagonals.
6. Unfold and flip back over.
7. Rotate 45 degrees.
8. Pull the top point down to meet the bottom point.
9. Collapse down and press flat. You now have a square base.
How To Fold An Origami Bowl.
10. Rotate the paper so the open end is at the top.
11. Fold the top layer down to meet the bottom point.
12. Fold back up and fold the top point back down but this time bring it down to meet the crease you made in the previous step.
13. Leave folded and fold back down along the same crease.
14. Flip over and repeat steps 11 and 12 on the other side.
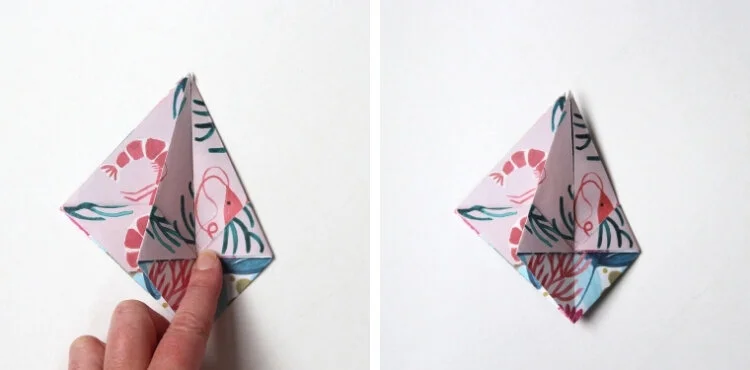
15. Lift the flap on the right and turn it to the left like a page.
16. Take the right-hand point and fold it into the middle.
17. Repeat and fold the left-hand side in.
18. Flip it over and repeat folding both sides into the middle.
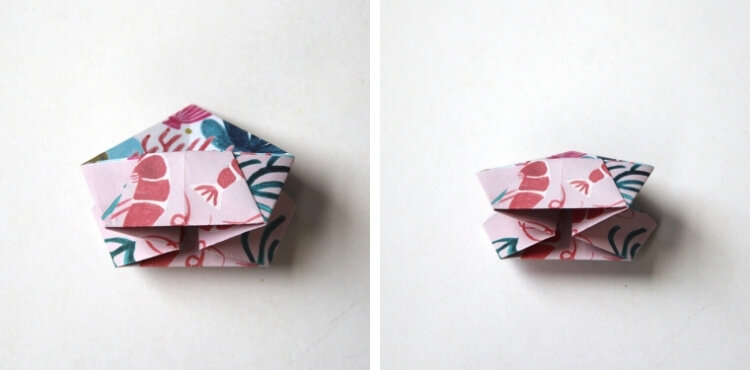
19. Take the top point and fold it down to meet the bottom of your model.
20. Tuck the point under the flap and press flat.
21. Flip over and repeat on the other side.
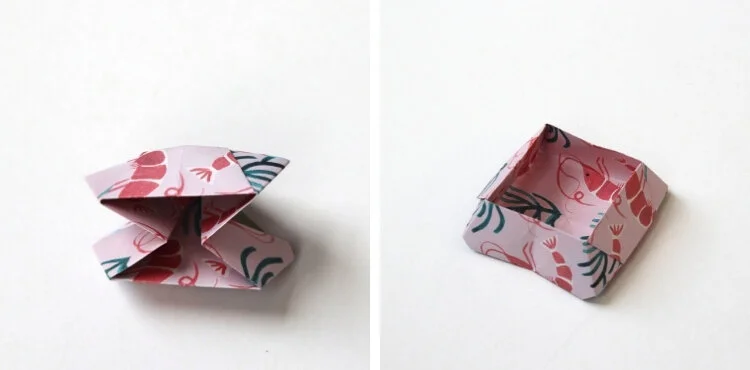
22. Pull apart and open out.
23. Press the bottom flat to finish.
Make them as big or as small as you like. Use plain paper, patterned paper, old magazines, origami paper, gift wrap or whatever else you have on hand.

